Laser Welding Defects: Causes and How to Fix Them
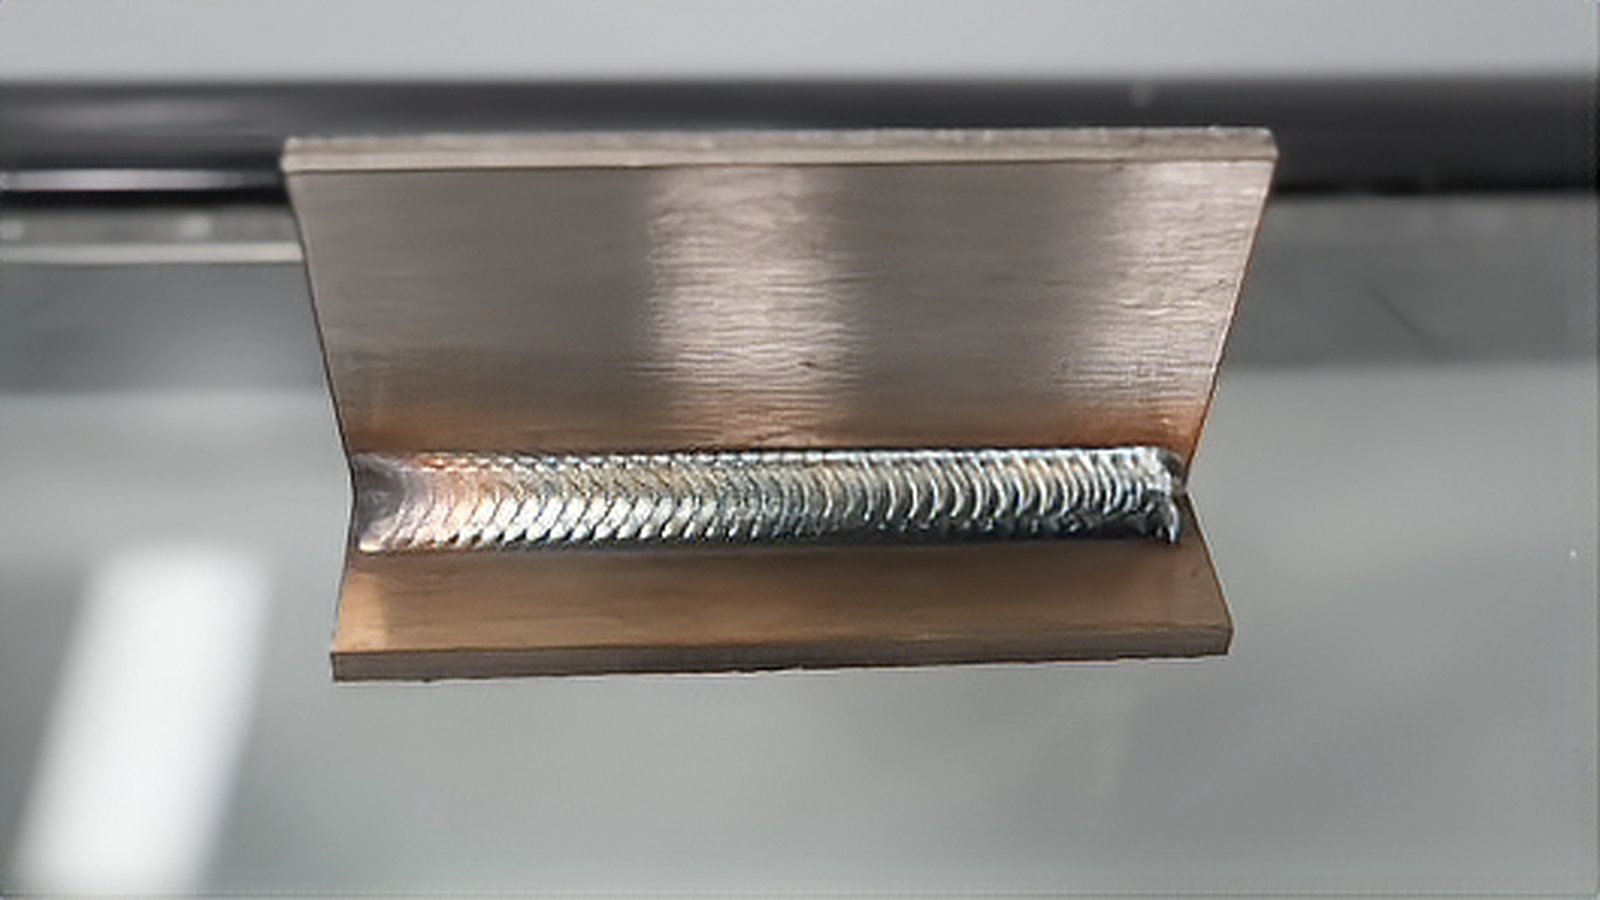
Laser welding defects such as porosity, cracking, undercut and lack of fusion rarely have a single tidy cause, and the fastest way to remove them is to follow a fixed diagnostic order instead of changing settings at random. This article describes the common defects, explains the process conditions behind each one, and shows which checks belong before any adjustment of power or speed.
Check the Hardware Before the Recipe
Most defects that appear on a process which had been running well are not parameter problems at all. A contaminated cover glass, a worn or partially blocked nozzle, a kinked gas line or a spatter coated protective lens all change the delivered beam or the gas flow, and any of them can imitate a drifting parameter set. Clean or replace the optics, measure gas flow at the nozzle, and verify the focus position on a test card before touching the program. This check takes minutes and removes an entire class of false conclusions.
Porosity and Gas Behavior
Porosity comes from gas that cannot escape the pool before it freezes. In steel, the usual sources are insufficient shielding, moisture or oil on the surface, and a zinc coating that vaporizes under the beam and drives bubbles into the melt. In aluminum, hydrogen released from surface oxide and moisture dominates, and the low viscosity pool makes the problem worse. Modest changes help more than large ones: clean the joint immediately before welding, keep gas flow inside the recommended range rather than at the maximum, and reduce travel speed slightly so the bubbles have time to rise.
Where the porosity sits in the seam is a strong clue. Pores clustered at the start usually mean the pool formed before the shielding gas had purged the area, so a short preflow and a gentle power ramp at the beginning of the seam will remove them. Pores at the end point to a crater that solidifies as the beam switches off, and a power ramp down instead of a hard stop is the standard remedy. Pores spread evenly along the whole seam are more likely to come from contamination or from the gas supply itself.
Cracking and Its Two Distinct Forms
Hot cracking, also called solidification cracking, occurs in the last liquid to freeze at the center of the seam and is most common in fully austenitic stainless steels and in aluminum alloys with a wide freezing range. Useful countermeasures are to reduce the depth to width ratio of the weld, to add filler where an autogenous weld was used, and to raise travel speed so the pool solidifies faster. These changes work on the shape of the pool rather than on the temperature of the process.
Liquation cracking appears instead in the partially melted zone of the heat affected zone, usually in alloys that contain low melting phases at the grain boundaries. A slightly defocused beam that lowers peak temperature, or a joint design that moves the weld away from a critical zone, often helps more than any change to power. If the crack appears only after the part has cooled completely, the cause is usually restraint rather than heat, and the fixture or the welding sequence deserves the attention.
Undercut and Edge Behavior
Undercut is a groove melted into the base metal at the edge of the weld and left unfilled by the pool. It appears when the pool is too wide or too hot for the joint, when the beam is aimed slightly off the centerline, or when the joint sits on a sharp edge that conducts heat away quickly. A small reduction in power, a tighter spot achieved through focus adjustment, or better beam alignment usually resolves it, and none of those changes disturbs speed. On thin sheet, weak clamping that lets the edge lift is a frequent root cause, so inspect the fixture before rewriting the recipe.
Lack of Fusion and Incomplete Penetration
Lack of fusion means the pool failed to wet and bond either to the joint wall or to a previous pass, and it is the most dangerous defect of the group because the outside of the weld can look perfect. Too little energy density, a gap that draws heat away from the interface, or an oxide layer that resists wetting are the typical causes. Incomplete penetration is related but distinct: the keyhole never reached the root, usually because power is low for the thickness or speed is high for the available power.
Both are addressed by adding power or reducing speed, but the order matters. Confirm focus position and beam alignment first, then lower speed in steps of 10 to 20 percent until the root is fully engaged, and only afterwards increase power. A cross section taken from a deliberately destroyed coupon is the only reliable confirmation, since the crown of a laser weld tells you very little about what happened at the root.
Treat every new defect as a sequence rather than a lottery. Verify optics, gas and focus, then classify the defect by where it sits in the seam, and only then change one setting at a time. Keep a photograph of each rejected weld next to its parameter set in the program notes, because a pattern across twenty parts teaches you far more than a single bad sample. That single habit shortens the distance between defect and fix on almost any laser welding cell.
Comments (0)
No comments yet.
Sign in to join the discussion.